Historic Somers, MT Home Remodel Project
 Aaron
and I moved back home to Montana from Alaska in the fall of 2006.
We thought we'd settle down in Somers, MT near our families. We
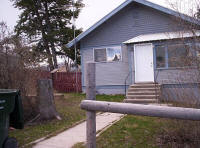
purchased a home built in 1909 that needed lots of TLC. Aaron
and I moved back home to Montana from Alaska in the fall of 2006.
We thought we'd settle down in Somers, MT near our families. We
purchased a home built in 1909 that needed lots of TLC.
My folks gave a word of warning about the extent of the project we had
before us, but we dove in. It was good to have a project to occupy
my time since I missed Alaska dreadfully.
We were in our house about one year before we decided that our hearts
were still in AK. We continued with our house project and ended up
selling it to some good friends.
We miss our house very much, it had so many personal touches.
|
|
|
|
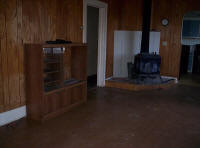 
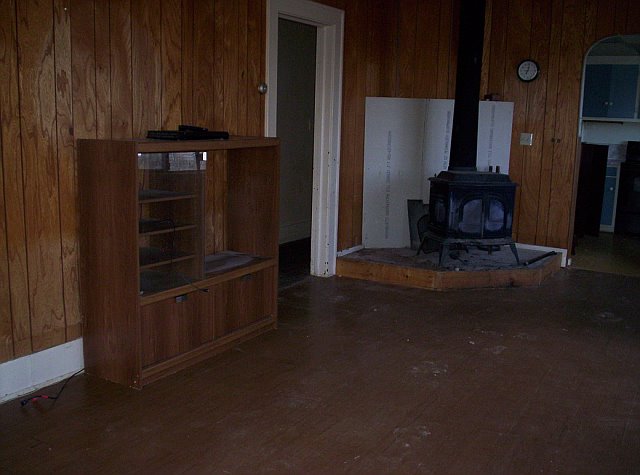
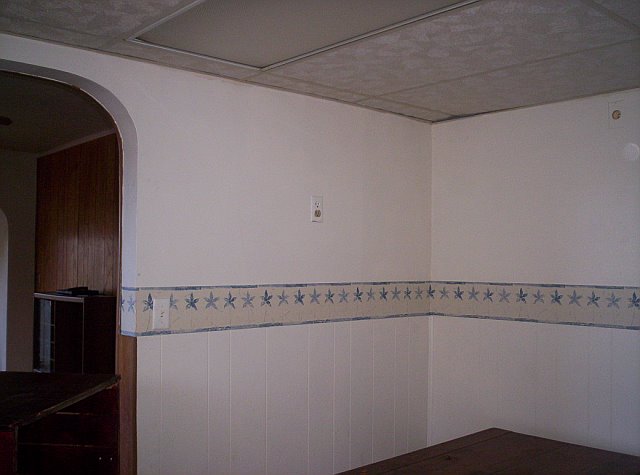
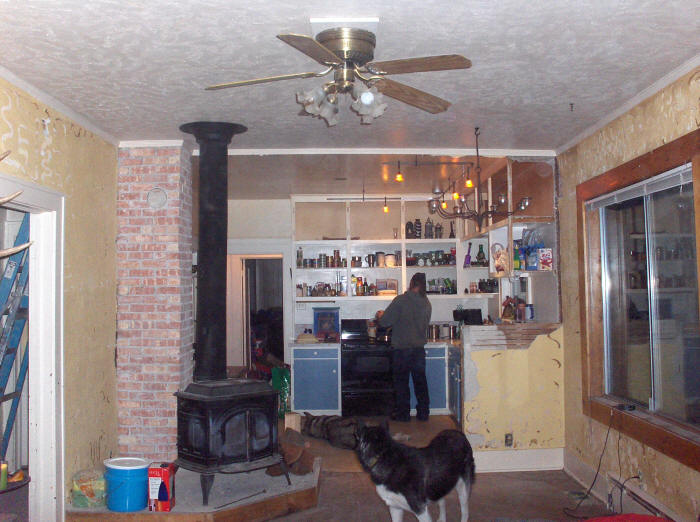
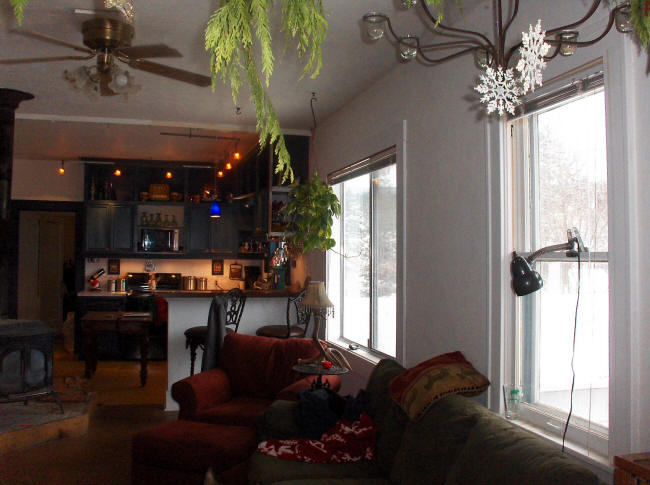
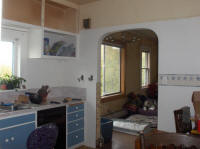
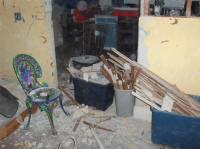
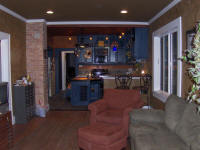
The inside of the living room into the kitchen in the beginning. Lots of
wood paneling and brown linoleum floors. The wood stove sat on a
concrete block.
|
|
|
|
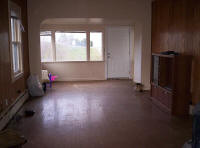 
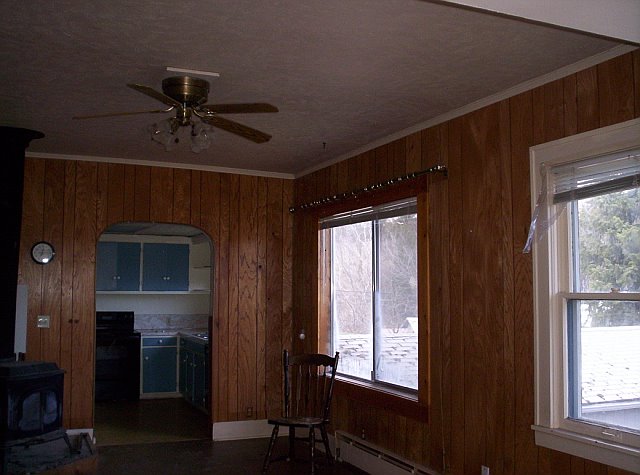
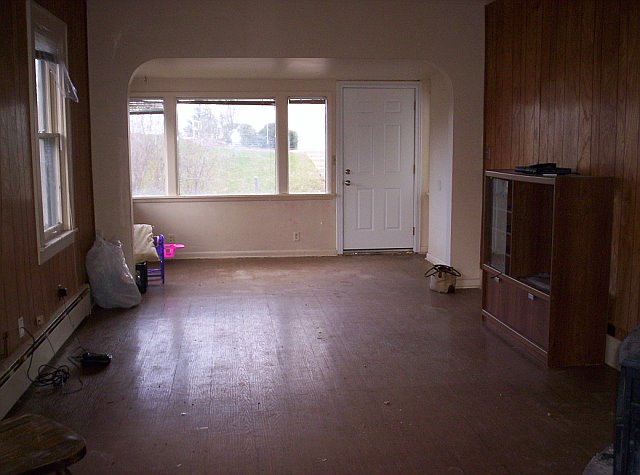
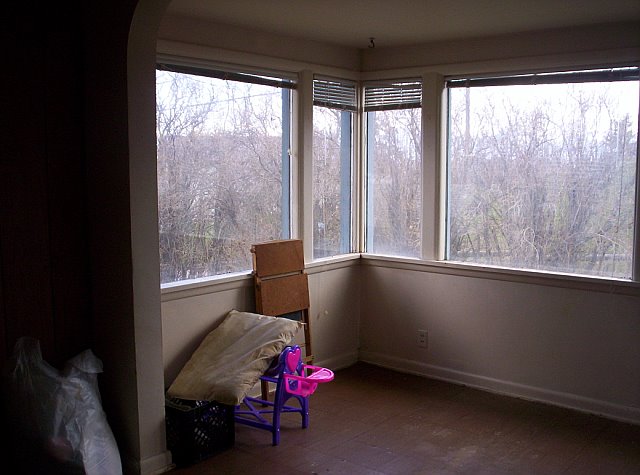
Another view of the living room area.
It had good bones. 9ft ceilings and original wood under the
linoleum.
|
|
|
|
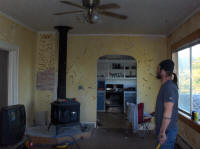
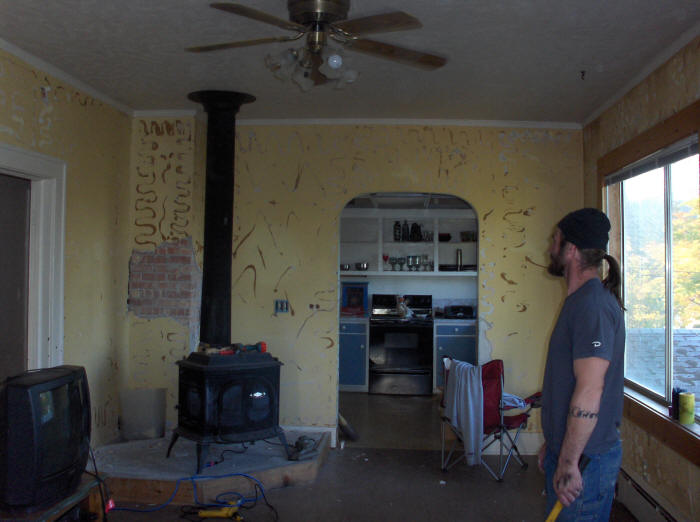
 First
order of business...see what is under the ridiculous wood paneled walls.
We found a lovely shade of yellow plaster with lots of glue residual
from the paneling. First
order of business...see what is under the ridiculous wood paneled walls.
We found a lovely shade of yellow plaster with lots of glue residual
from the paneling.
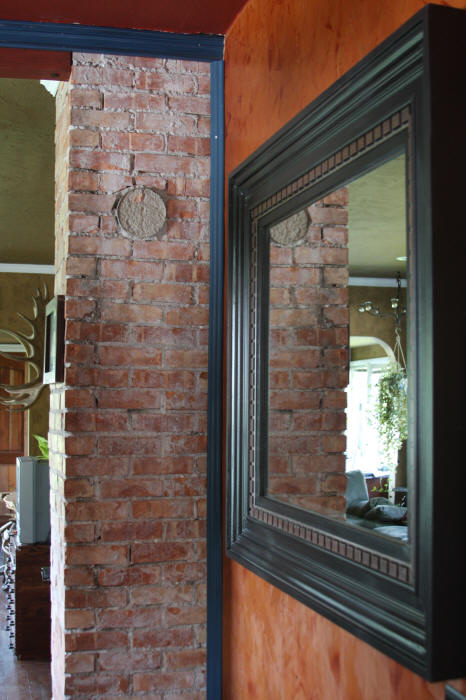
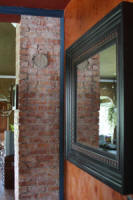
We were pleased to find brick under the plaster! I
love old house!
|
|
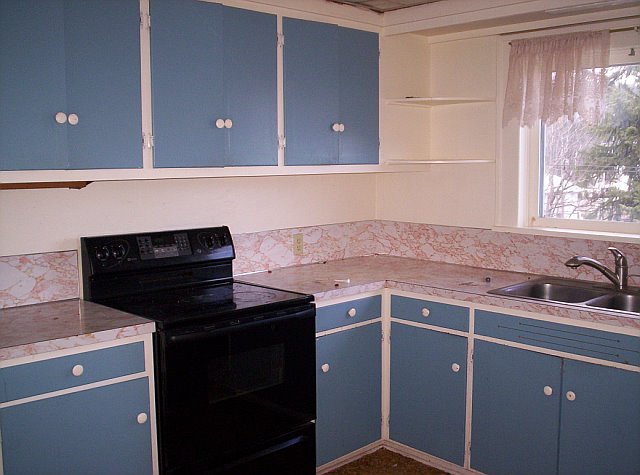
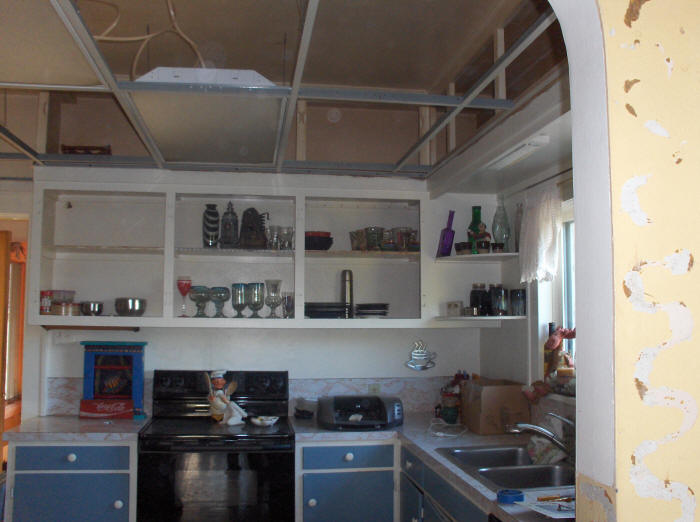
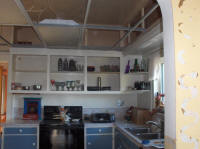
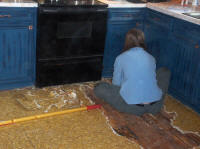
  Next
order business...Get rid of the drop ceiling in the kitchen...who wants
to hide 9ft ceilings? We were very pleased to see the cabinet space that
had been hidden by the drop ceiling too! Next
order business...Get rid of the drop ceiling in the kitchen...who wants
to hide 9ft ceilings? We were very pleased to see the cabinet space that
had been hidden by the drop ceiling too!
Also...time to get rid of the blue cabinets. |
|
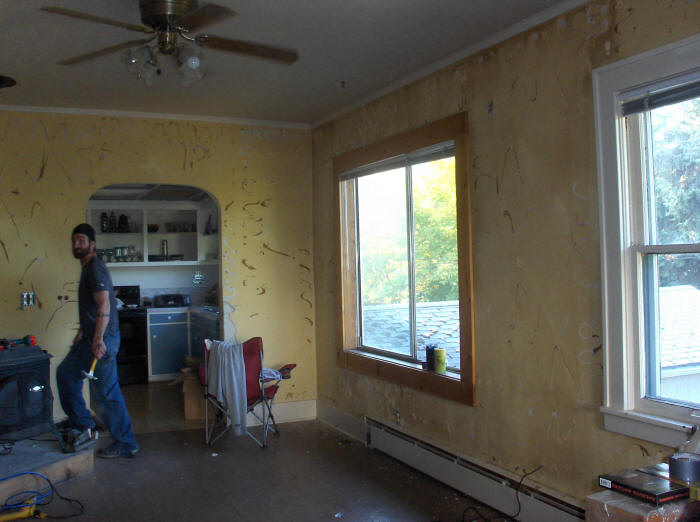
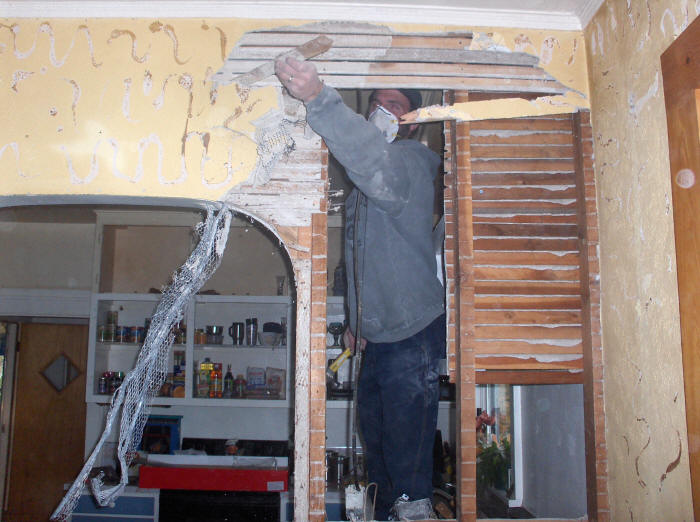
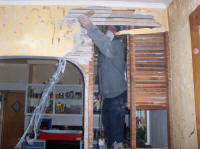
The wall in between the kitchen and the living room is going.
Little did we know how messy plaster is! Dust masks a must!
|
|
|
|
|
|

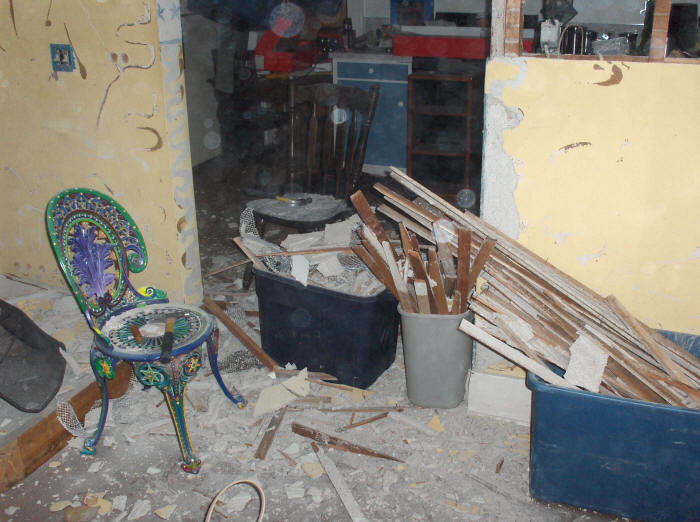
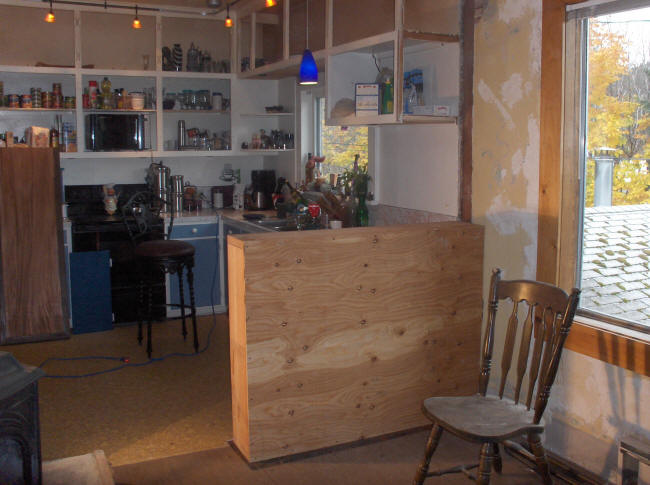
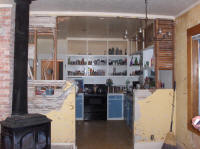
 All
in a days work...knocked down a wall, made the house very dusty, put up
some track lighting, and now dinner time! All
in a days work...knocked down a wall, made the house very dusty, put up
some track lighting, and now dinner time!
The future bar.
|
|
|
|
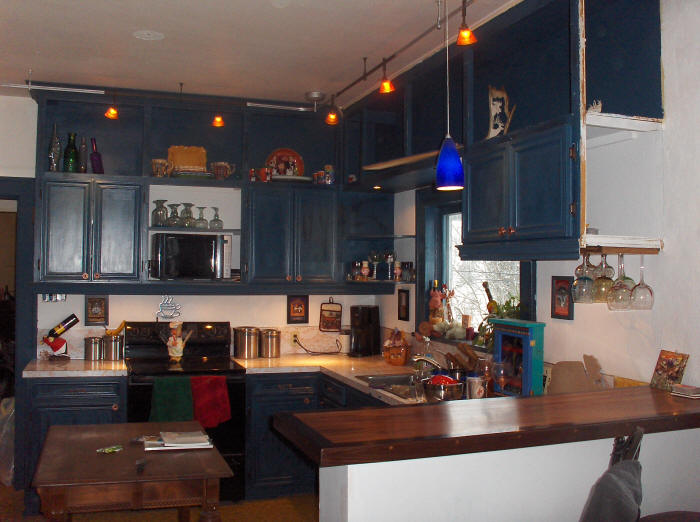
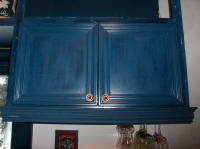
So the kitchen cabinets were blue, and will remain
blue...just a little different. We made them look distressed by painting
them three different shades of blue and then sanding them down to show
the different colors. We used the original cabinet doors, but
dressed them up with trim and beadboard. |
|
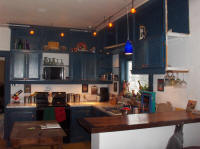 
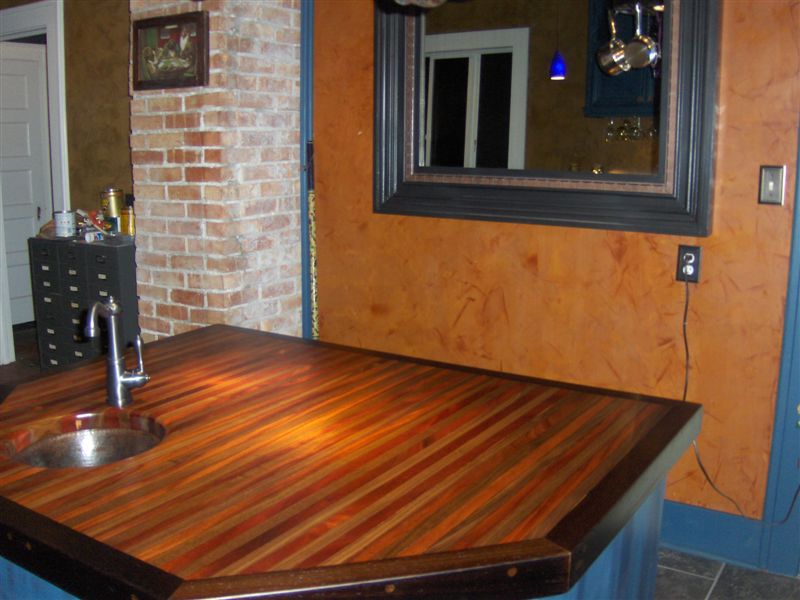
The bar top is made from African mahogany and wenge.
We are trying to figure out what wall color to use.
The contrast is TOO much with the blue and white! |
|
|
|
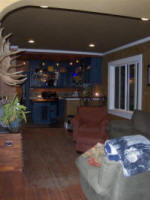
The walls are primed...it feels a little cozier and
it's Christmas so we threw up some decorations! |
|
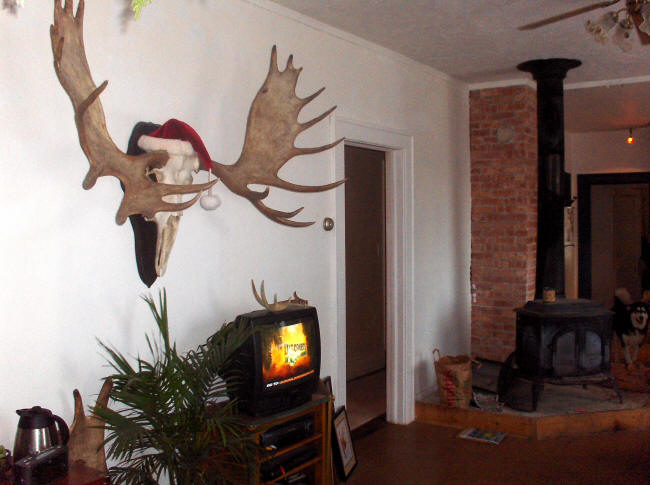
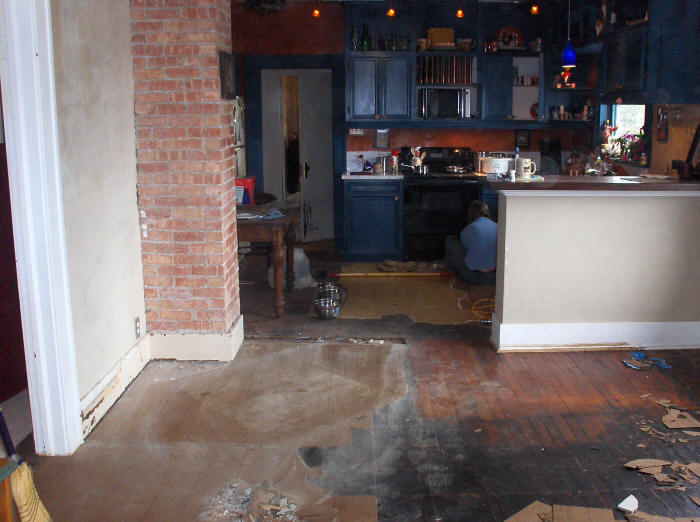
The next project is the floor. We wanted to get the
kitchen and living room linoleum up...What a chore!
Bye Bye to the wood stove. |
|
|
|
The kitchen floor was not a loss, and will be tiled.
The living room floor will need some refinishing, but it's in great
shape other than the tar stained area in the center.
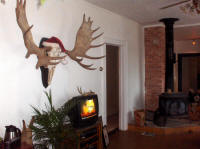
The kitchen walls are done in the picture to the left.
The burnt orange looks awesome against the blue! |
|
|
|
 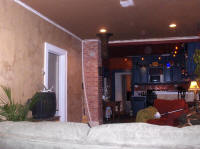
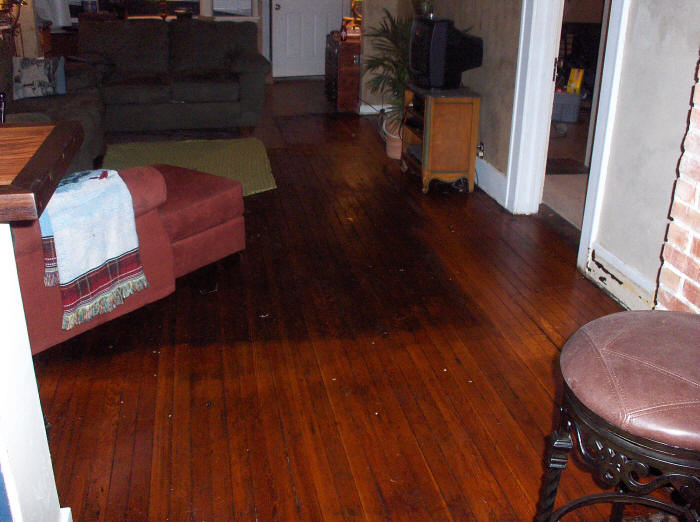
The floor is delicious!
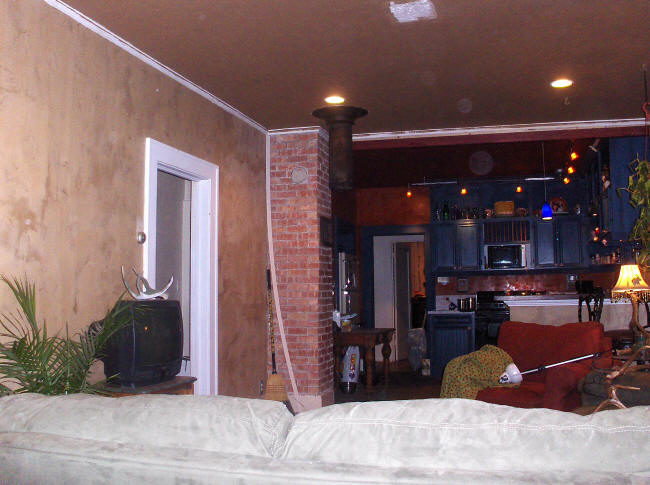
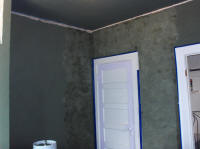
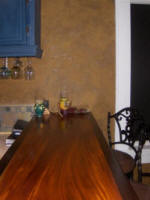
The living room walls are sort of done here. They are
done with a Venetian style plaster using all purpose joint compound in
multiple layers. The fan is gone, and can lights are in! |
|
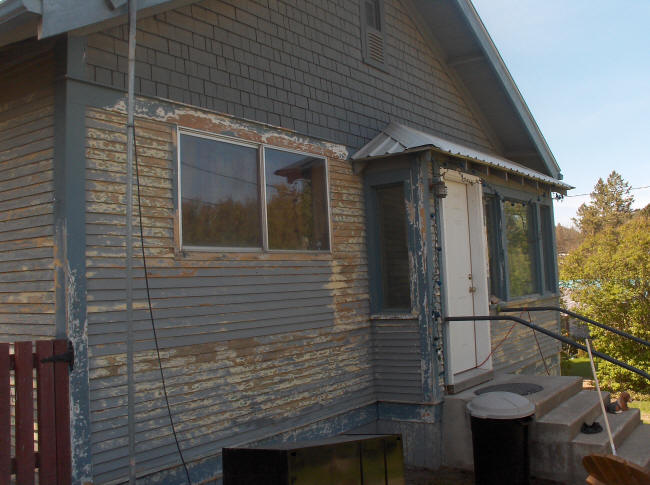
Aaron and I neglected to take pictures of the whole
project as we went along....So I'll jump ahead to the outside. We had a
deadline by which the house had to be painted. We tried scraping...no
luck! |
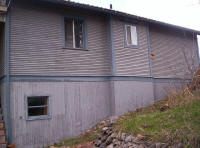
|
 
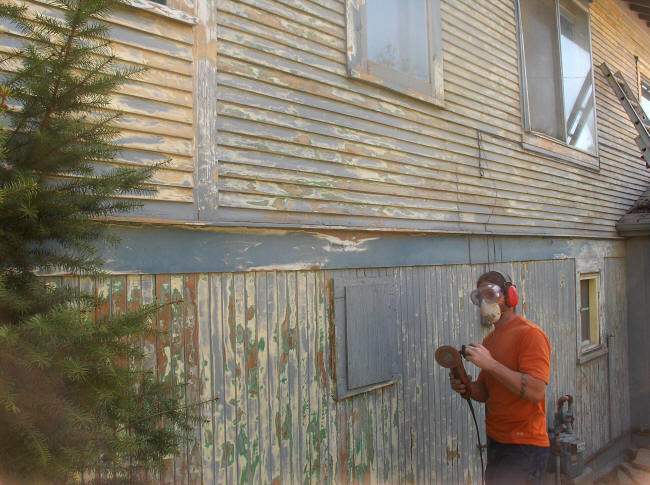
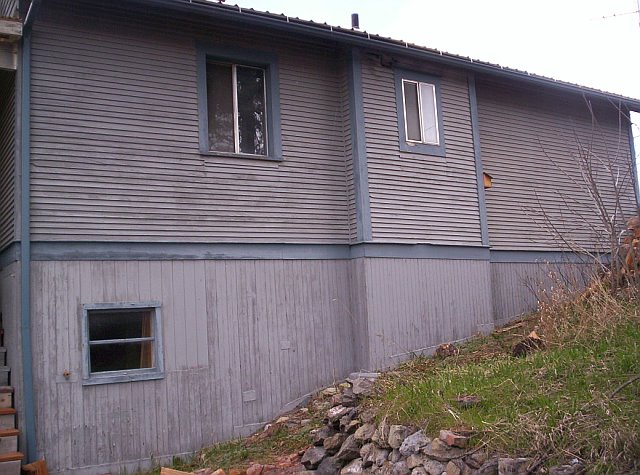
We ended up grinding nearly the entire house...each little siding board.
We found three layers of paint below the outside blue. The wood
trim was in surprisingly good shape.
|
|
 
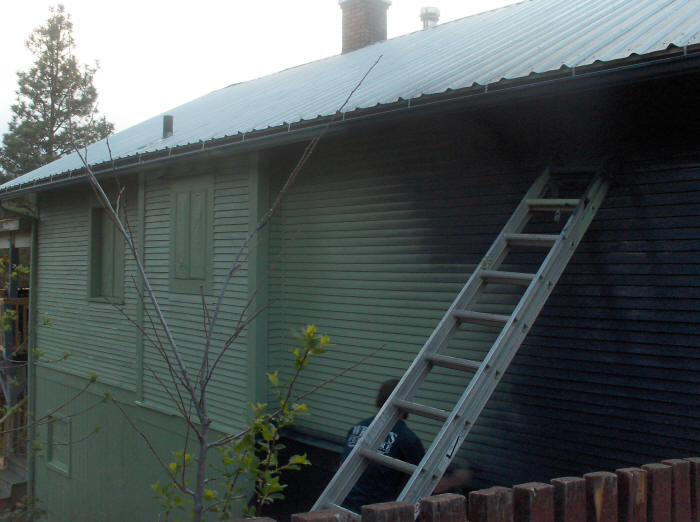
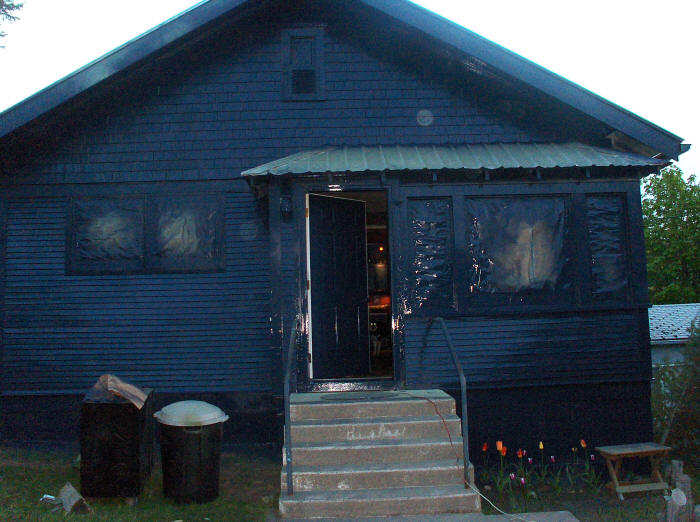
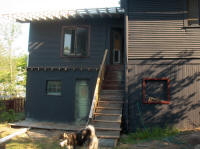
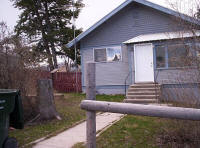
Choosing what color to paint a house is a chore. We started with a
dark green, but didn't care for it. Dark blue was our choice and we
loved it. We had some great idea for trim to dress it up! Luckily
we made up time with my Dad's sprayer! Amazing how fast you can paint a
house!
|
|
|
|
 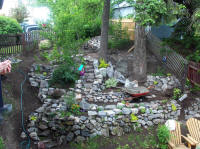
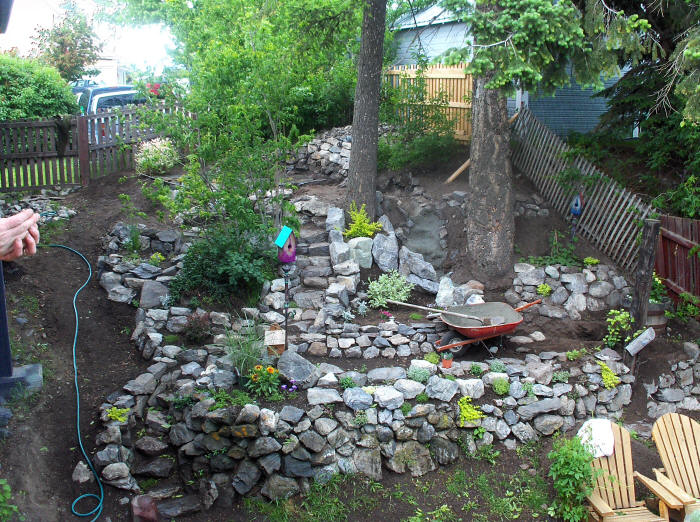
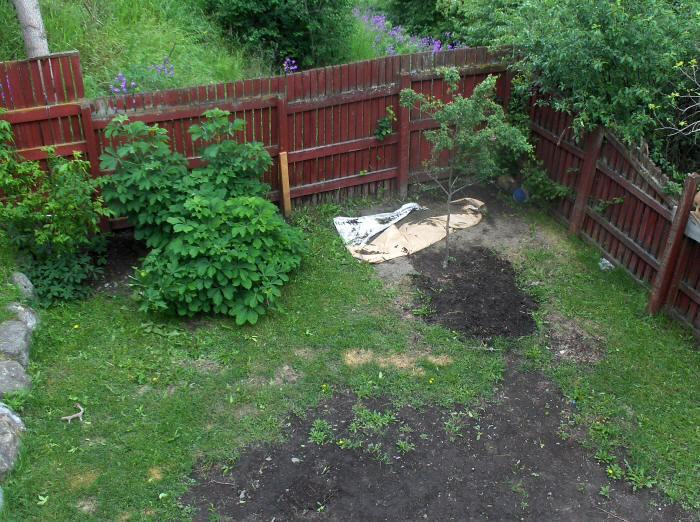
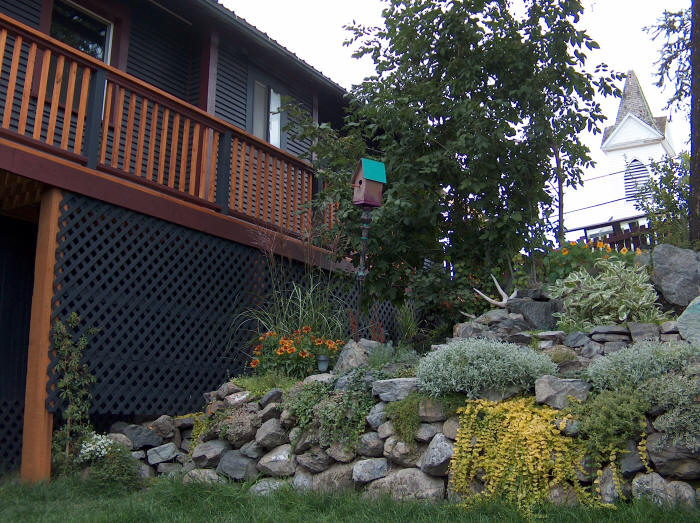
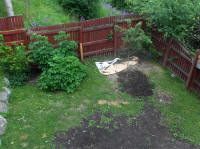
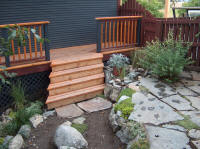
I don't have a picture of how this area in the yard looked before, but
it was piled with wood and just a hill of mixed grass and weeds, with
some rocks. Aaron and I started digging to make a cool area and found
tons of rocks in our soil. We did all the landscaping with the
rocks we dug on this little hill.
|
|
|
|
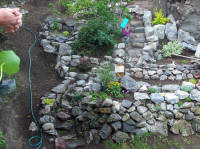 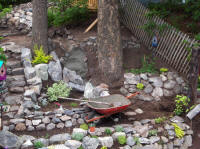
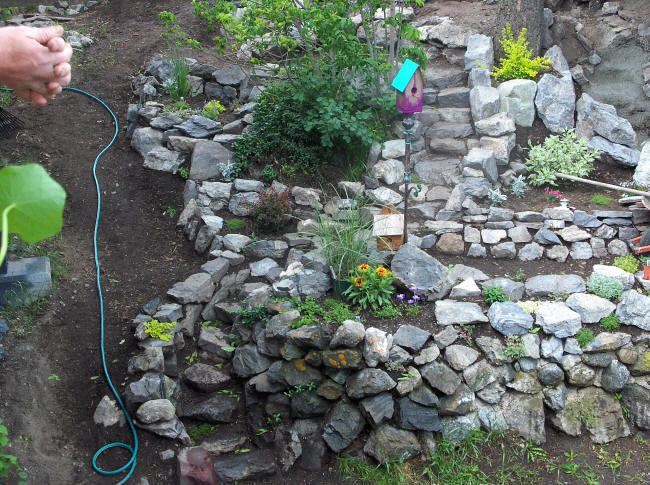
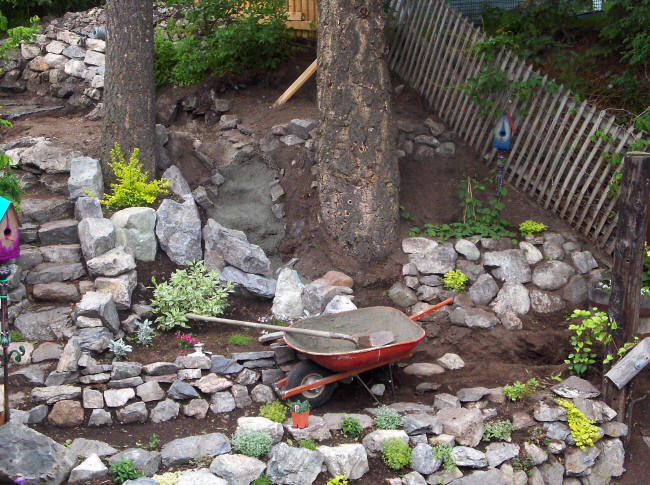
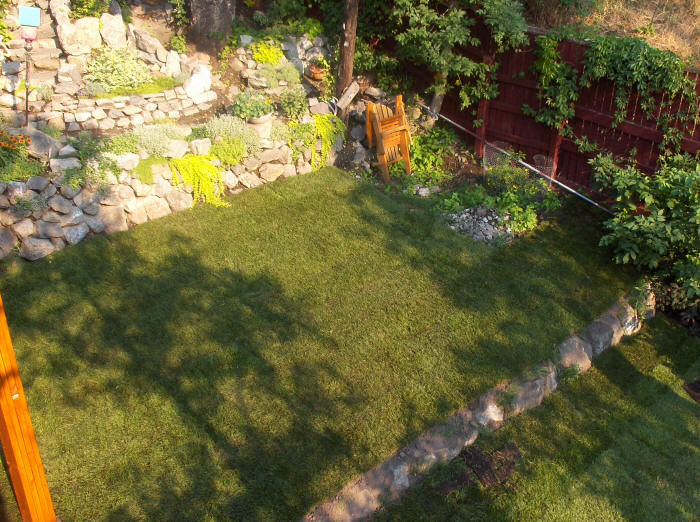
Working with dirt is relaxing...I loved planting all the little plants
in this rock garden.
We started the waterfall today... |
|
|
|
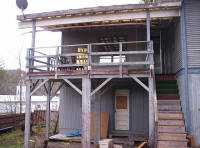 
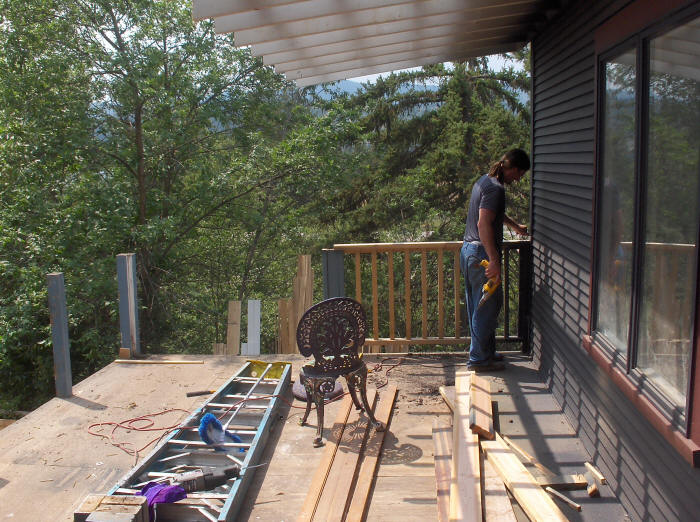
The next step is the deck.
Again...our work cut out for us. |
|
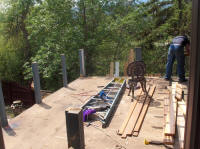 
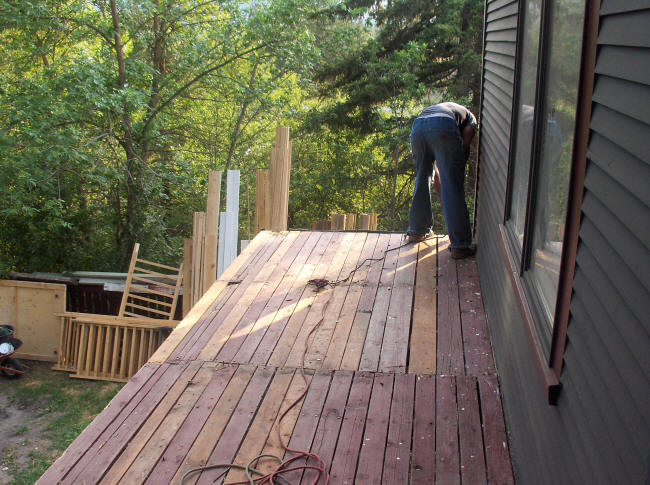
Disassembling the entire deck to take to the dump, or
salvage whatever wood we could. |
|
Deck gone....
Tundra doesn't quite know what to do! |
|
|
|
Time to sod the yard!
|
|
 
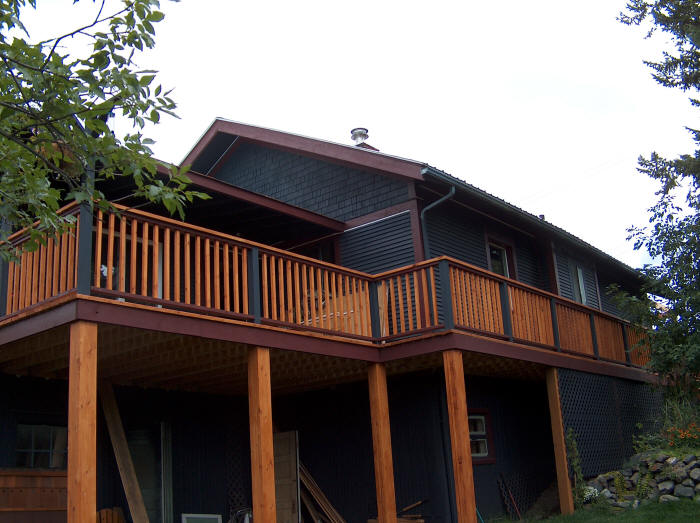
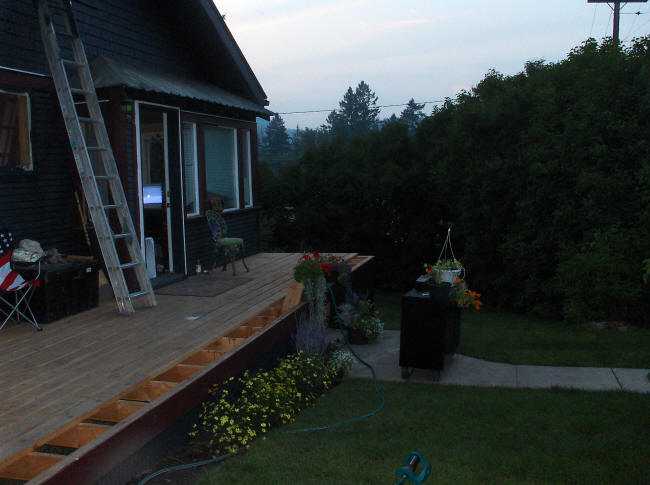
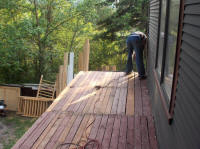
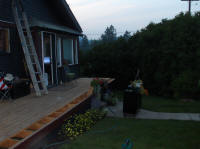
Deck rebuilt with a wrap around deck to front.
We built the deck the same overall size, and cut the roof back to half
the distance. |
|
|
|
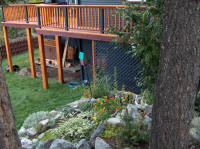
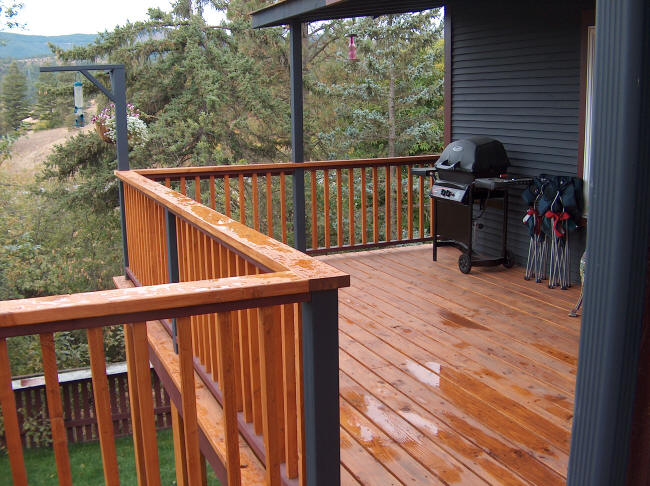
Tundra loves the wrap around deck. Easy to sit and
watch the squirrels and plan attack! (She could never catch one)
The colors really offset the blue nicely. We used a wine color,
white, and the cedar wood color.
|
|
|

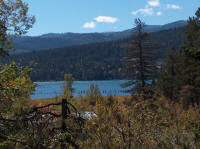
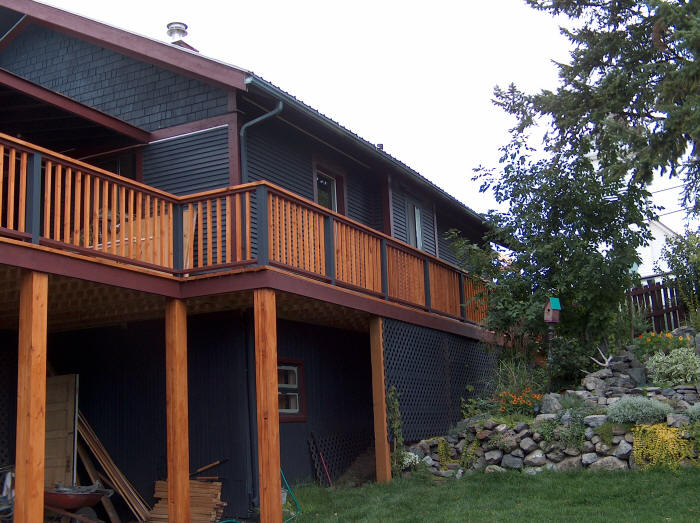
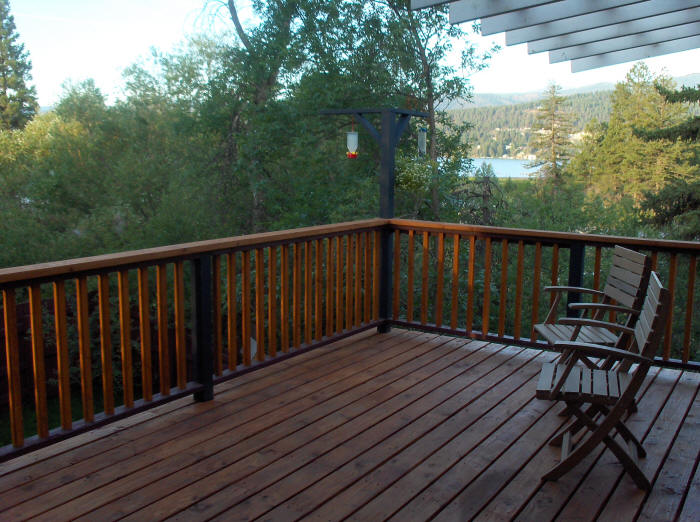
Awwww...The new deck! Just loved it!
Now the view is even better! We loved the views of
Flathead Lake. |
|
|
|
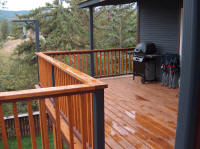 
The deck and rock garden after a summer rain. |
|
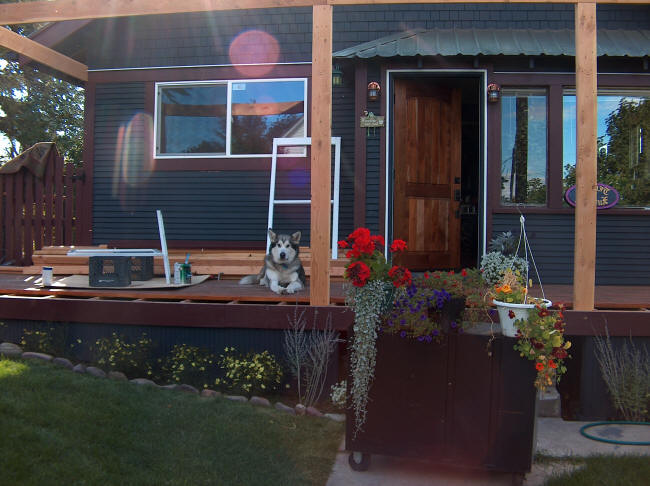
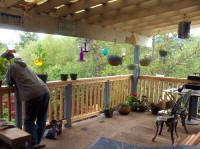
The next project is the front porch. We decided to
bring the wrap around deck all the way to the front to a covered porch. |
|
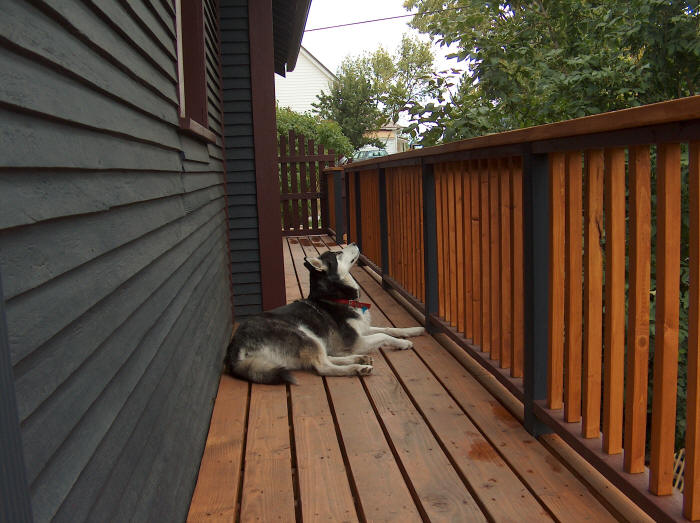
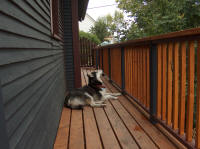
The decking is done. Kodi likes his new perch. |
|
|
|
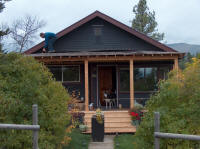 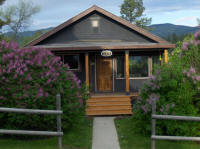
Nearly done...just have to shingle the roof. The
lilacs are blooming and it is lovely in Somers, MT! |
|
Back to work on the inside of the house....only an
entire basement to finish, upstairs bath to remodel and kitchen to
finish. |
|
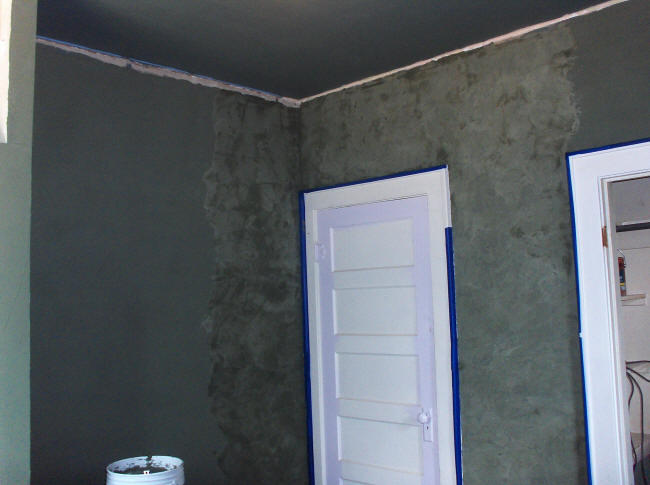
 Aaron
and I textured all the rooms in the house with Venetian style plaster,
but only took limited pictures during the building process. Aaron
and I textured all the rooms in the house with Venetian style plaster,
but only took limited pictures during the building process.
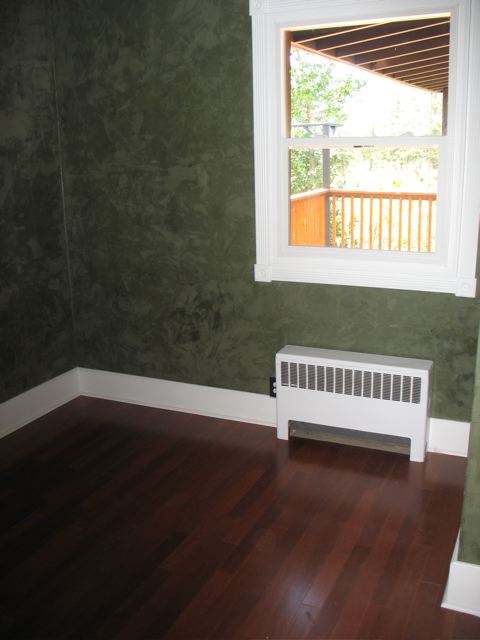
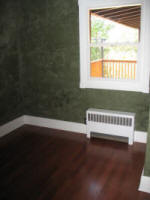
This bedroom was originally painted light purple with
blue ceilings and had single pain steel windows. I decided with a
green wall color.
The floor was carpet in this room, so we installed
wood floor, put in baseboard and crown molding. |
|
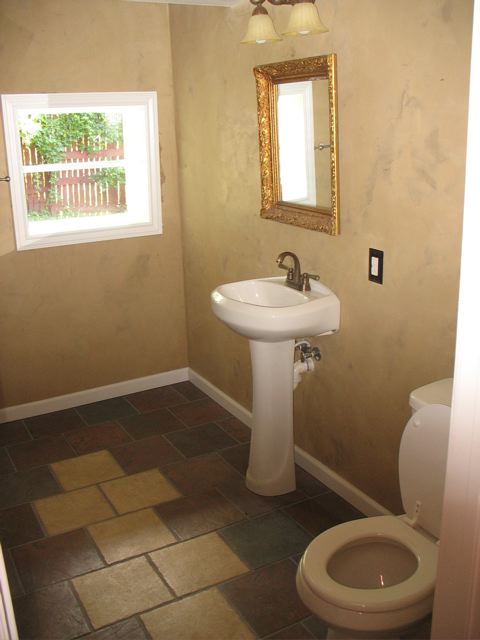
The basement was totally unfinished, again we hardly
in pictures of the end result. But we did put in a second bathroom in
the basement. We really enjoyed the art of plumbing. The finished
result...
|
|
|
|
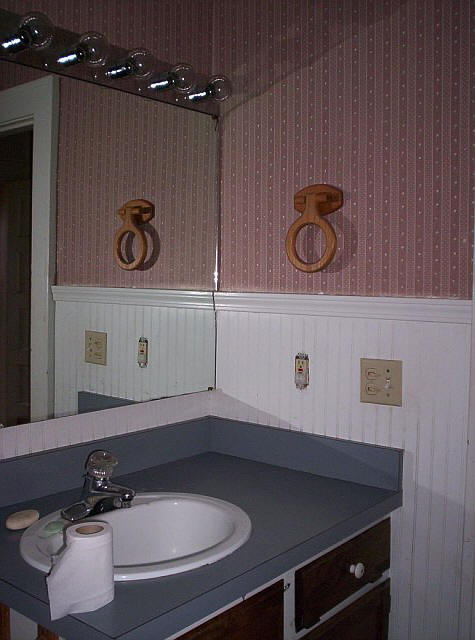
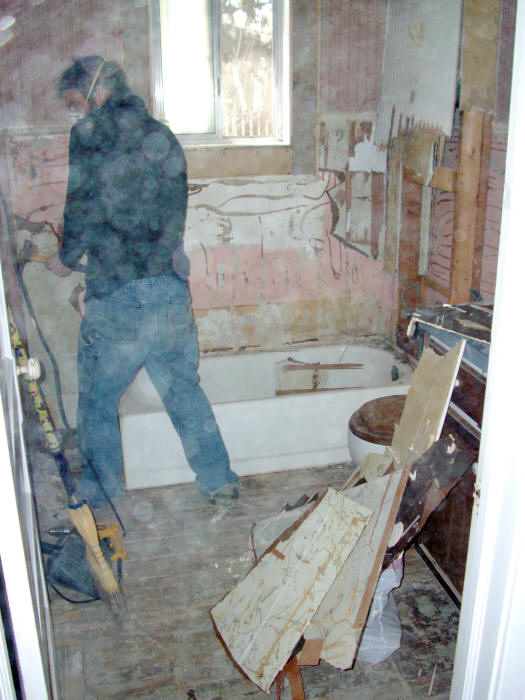
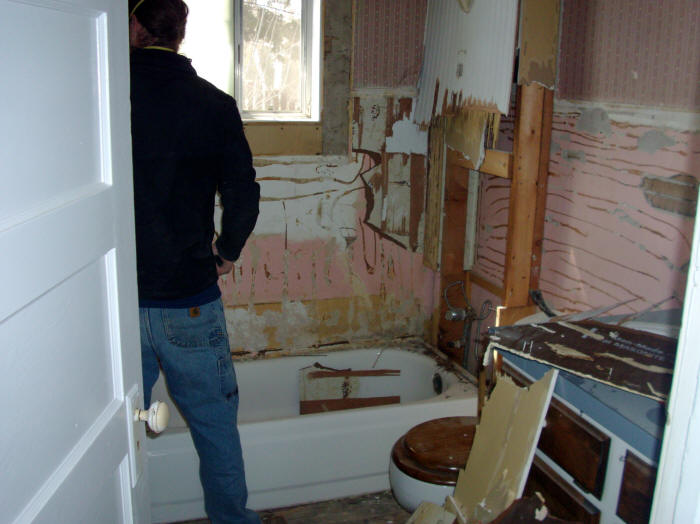
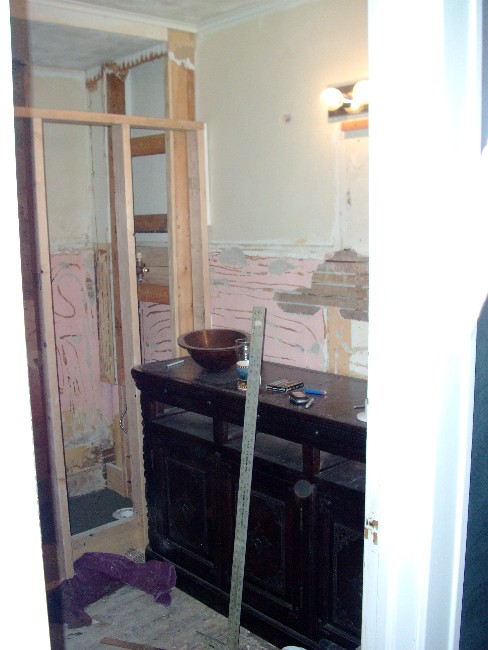
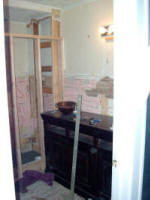
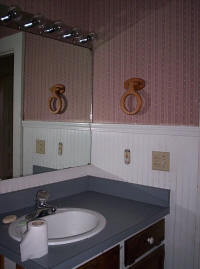
The upstairs bathroom was a huge project!
The originally picture is on the left. There was a steel tub that
had
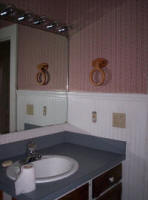  obvious
rot near the faucet. obvious
rot near the faucet.
The bathroom was originally the only one, but we
had just completed our downstairs bathroom. We planned on making
this one a little bigger and were going to only have a walk-in shower.
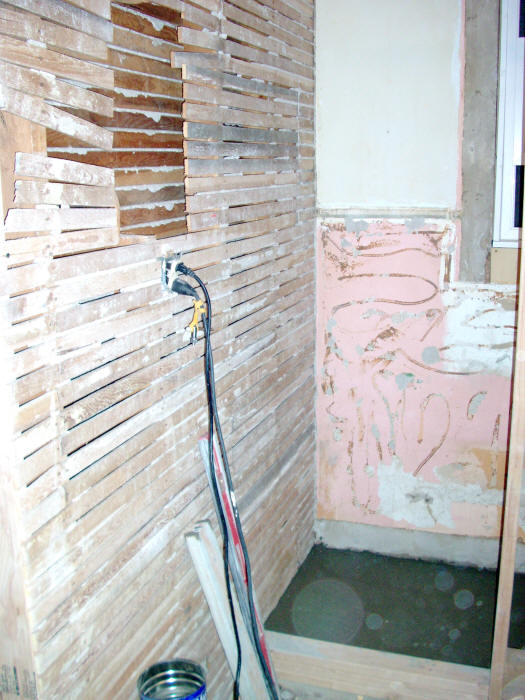
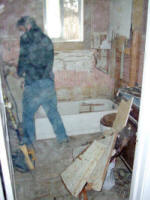
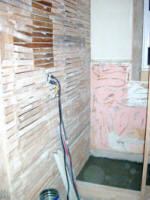
More lathe and plaster....dusty mess.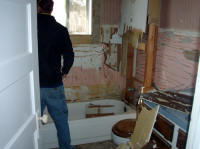 |
|

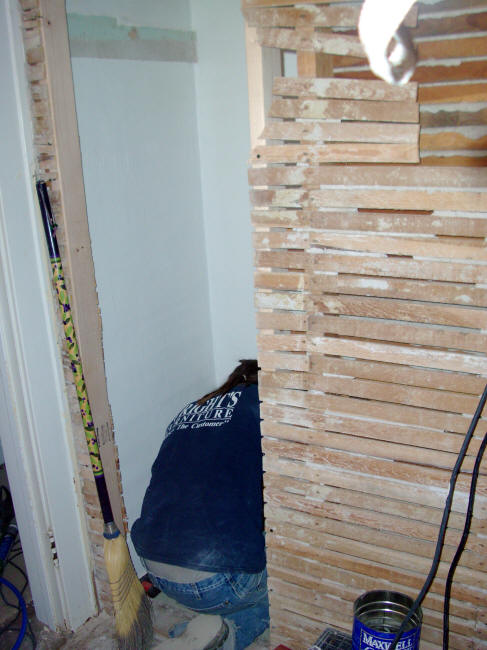
We decided to expand into one of the bedroom closets
for increased space in the bathroom. We wanted to make this a unique
little throne room.
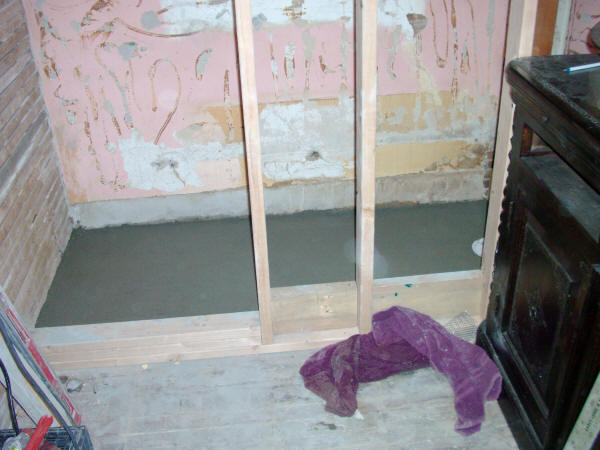
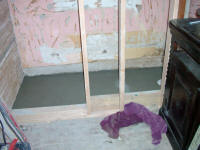
I started working on the shower pan with the correct
slope for the tile. It is hard to get that much mortar to slope
evenly. |
|
|
|
Our vanity was an incredible piece of furniture we
purchased locally. It was not intended to be a vanity, but we were
going to make it one.
More lathe and plaster... |
|
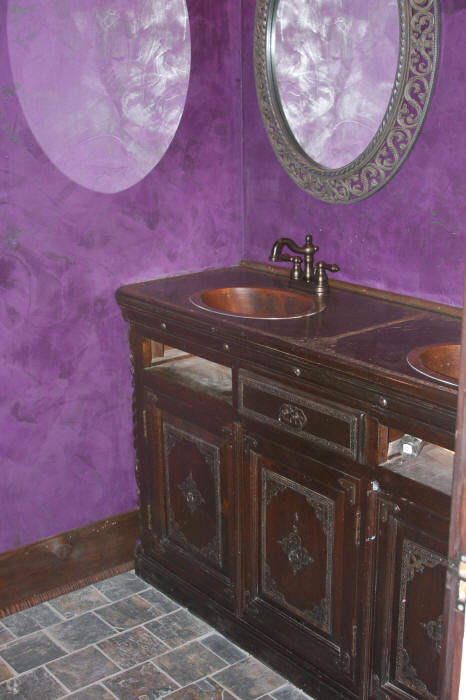
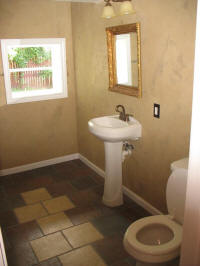
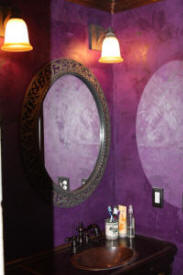
Our bathroom is a little shocking for anyone scared of
color. We loved it! Very gothic like. |
|
 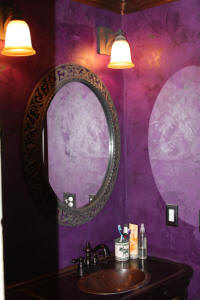
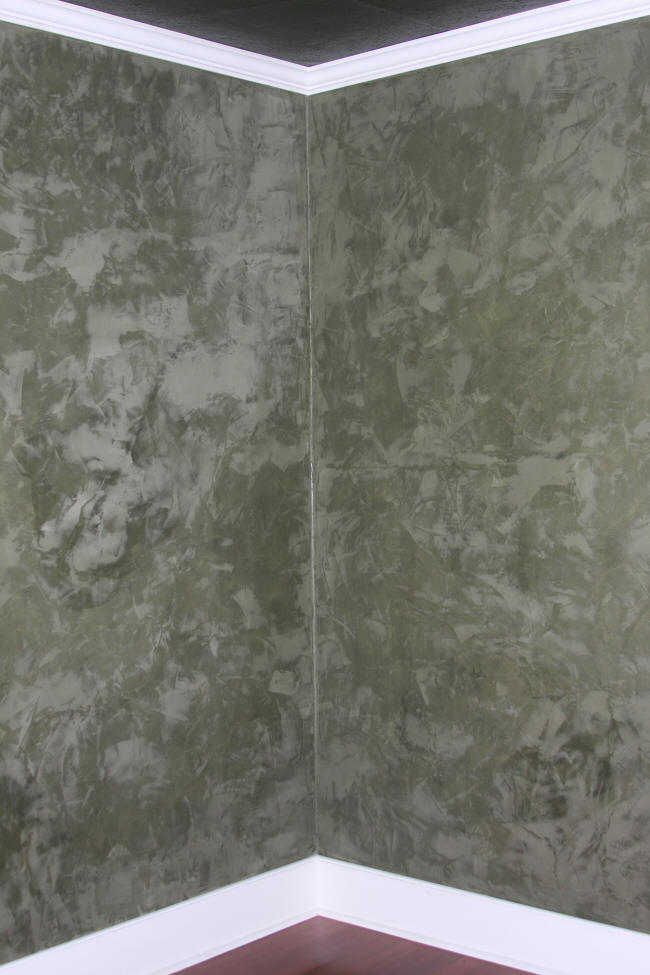
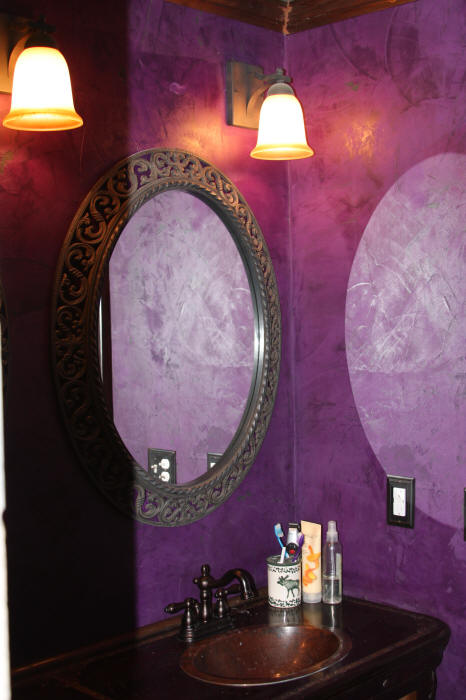
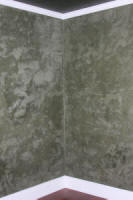
I just love it! The walls were again done with a Venetian style plaster
in two different purple hues. We used copper sinks in the vanity
with oil rubbed bronze faucets. The floor is natural slate.
|
|
|
|
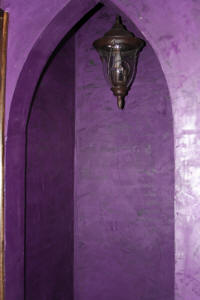 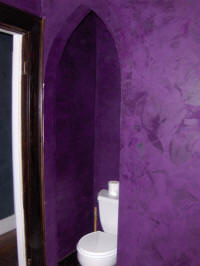
The throne room! Aaron framed a gothic like arch and
we hung a dark bronze pendant light. We wanted to get a darker
toilet, but they were out of our budget! |
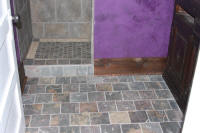 
The shower was tiled with ceramic tile. I cut each
tile you see to the size and designed the pattern. It is way cheaper to
do an intricate tile shower if you are willing to cut your own pieces
from the larger tiles. It took me FOREVER to cut the pieces, let
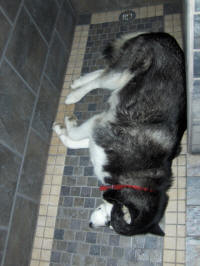
alone tile the shower. Tundra loves the cool floor in the shower. It is
the only picture I have inside the shower... oops. |
|
  Alright...the
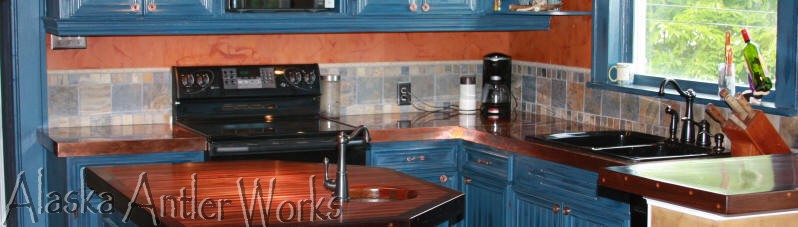
before shot of the kitchen. Alright...the
before shot of the kitchen.
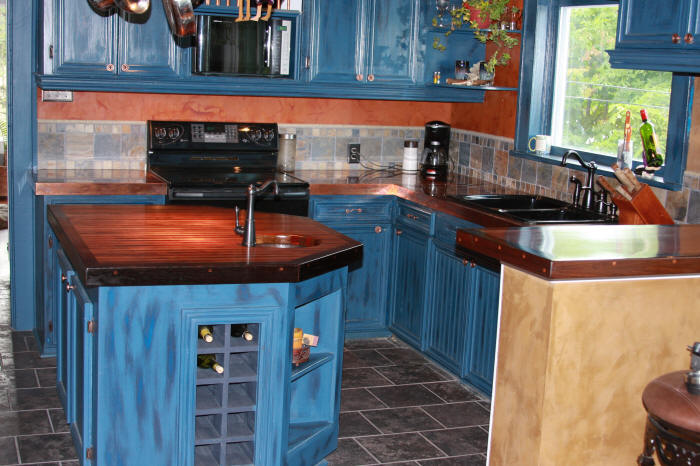
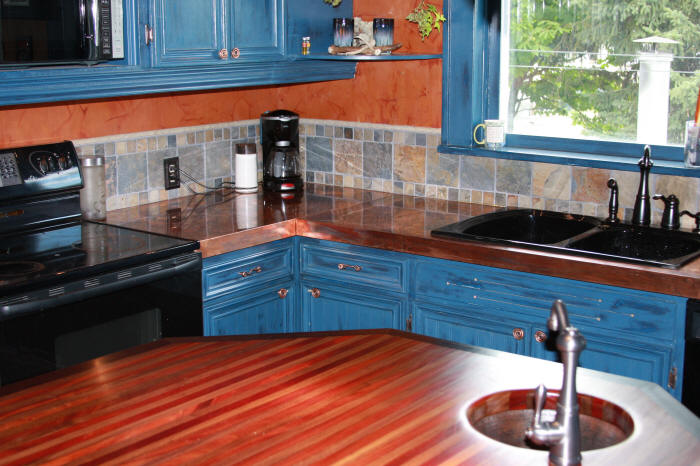
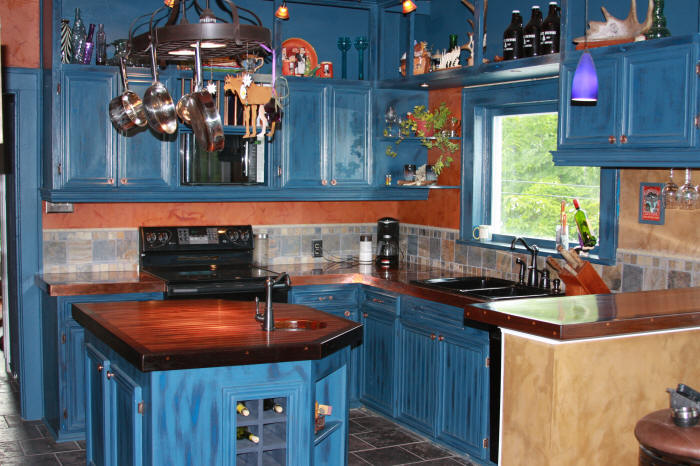
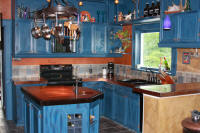
The after shot of the kitchen. I ended up tiling the floor with a
darker ceramic tile, and Aaron built the island. The backsplash tile is
natural slate, and the counters are copper. We found a pot rack
with downlights to add light to our kitchen..
|
|
 
The butcher block top we made with walnut and African mahogany. We
placed a copper sink in the island to. Aaron made the large frame
for the mirror on the wall of the kitchen. Mirrors make spaces feel
larger
|
|
|
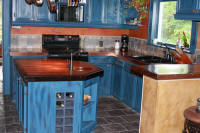 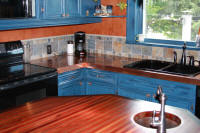
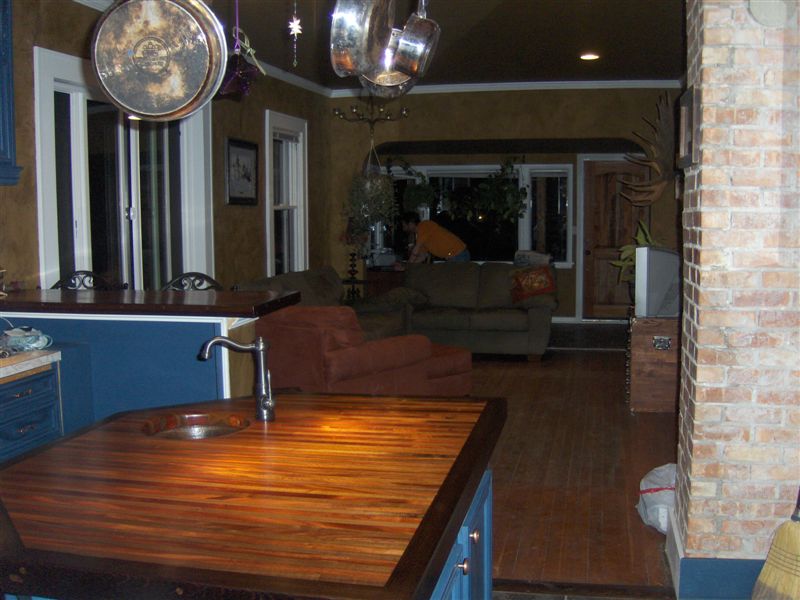
A few more shots of the kitchen.
|
|
|
|
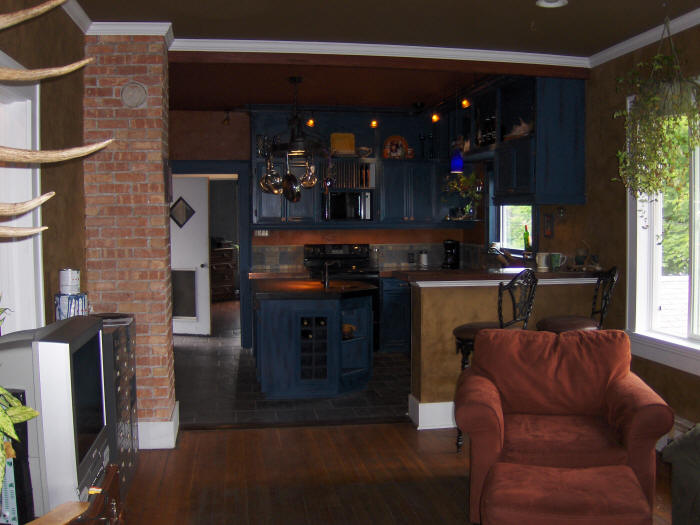
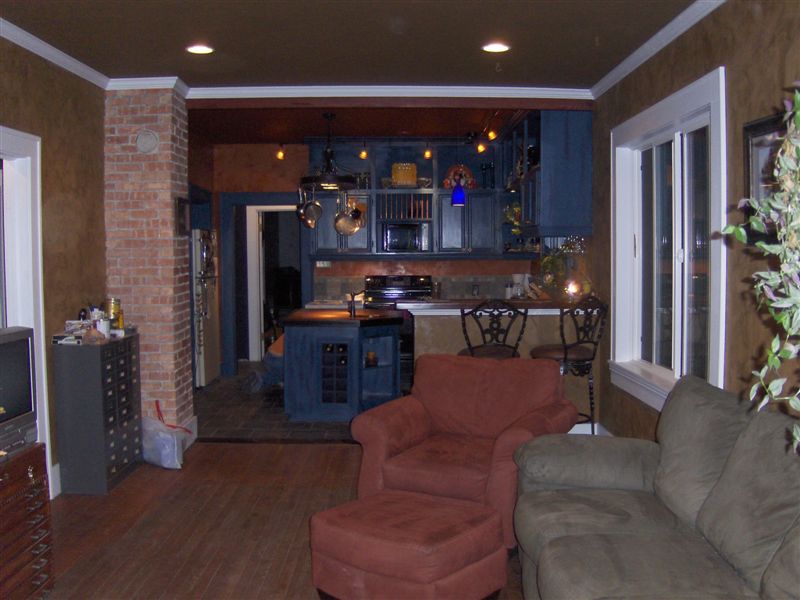
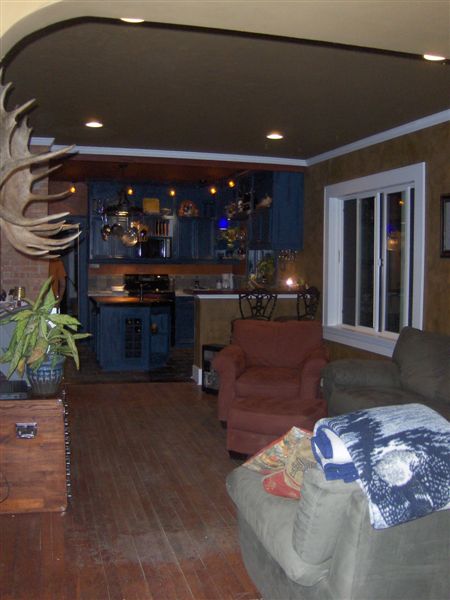
We loved how all the textures and colors came together
to make this living space rich and welcoming. |
|
|
|
 
Views of the living area.
|
|
|
BEFORE and AFTER IMAGES
|
|
 |
|

 |
|

 |
|

 |
|

 |
|

 |
|

 |
|
 |
|
Back |